
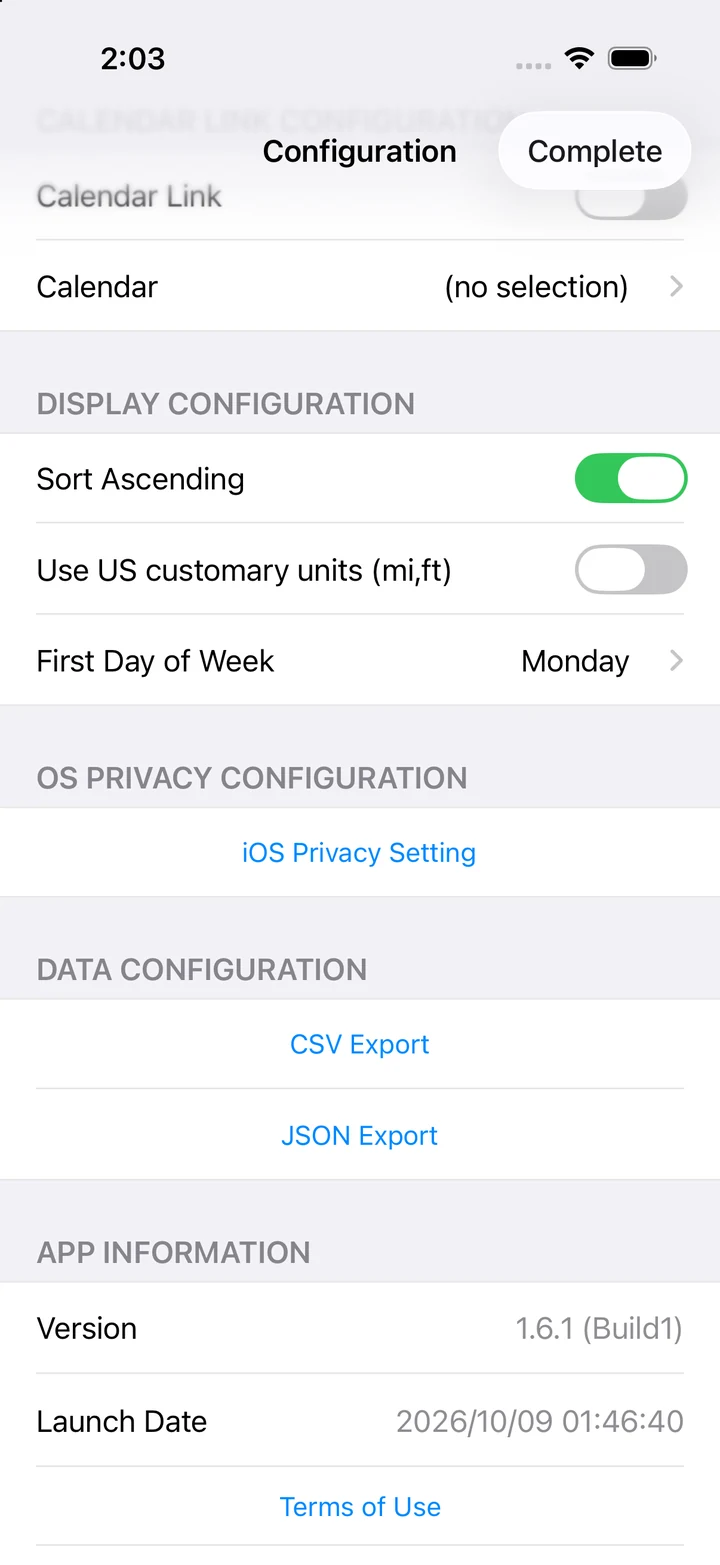
1. Set up the calendar link
- Tap the tools (Settings) button in the daily view, then scroll down to Calendar Link settings.
- Turn Calendar Link on. If a permission prompt appears, review it before granting access.
- Open Calendar and choose a writable calendar. A dedicated calendar makes the records easier to review separately from work or personal plans.
- Tap Done to close settings.
2. Understand when events are created
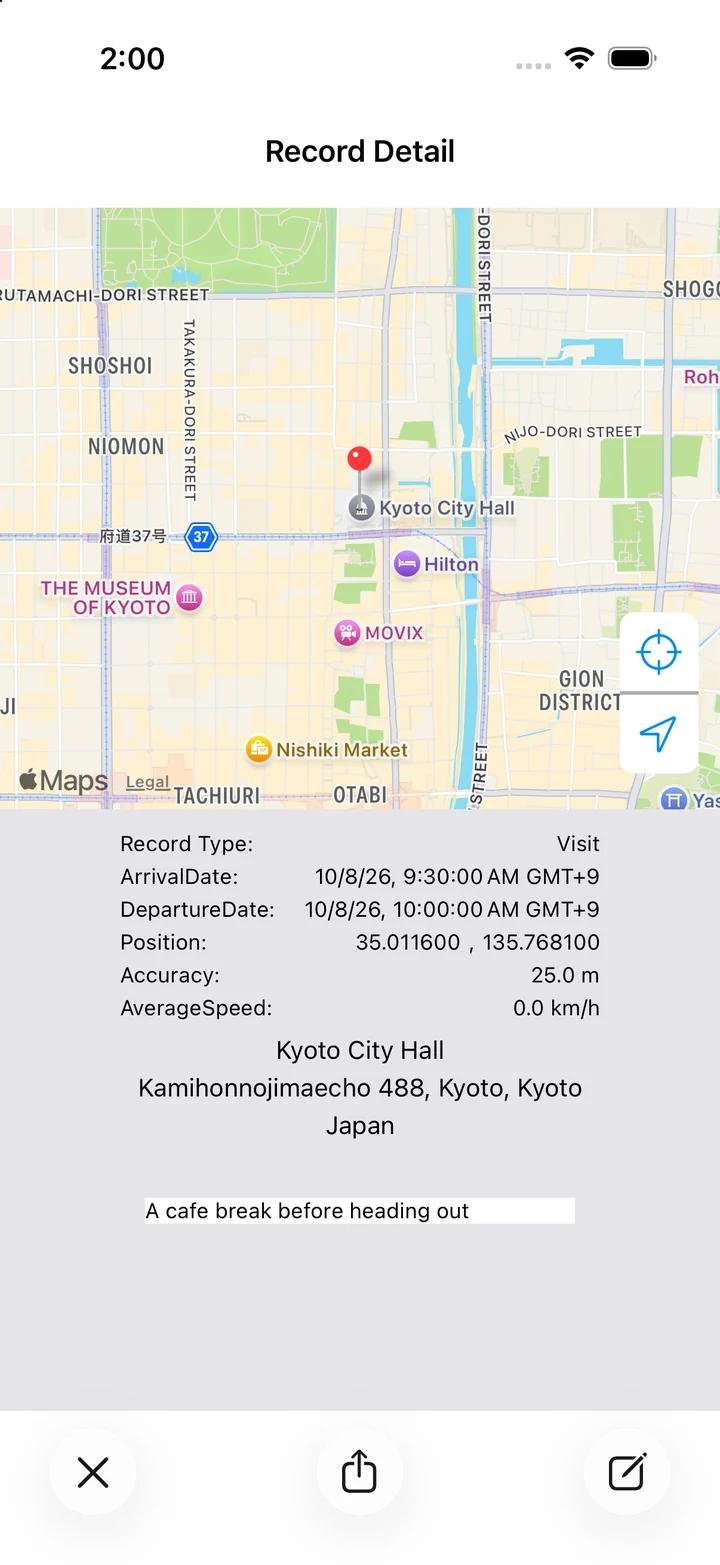
An event is created when a visit after you enable the link has both arrival and departure times. It may not appear immediately on arrival or while a visit is still in progress. This feature does not sync all past records in bulk.
3. Check the Calendar app
- In the iPhone Calendar app, open a day with a visit completed after the link was enabled.
- Make the destination calendar visible and check the period between arrival and departure.
- If there is no event, check Pro access, calendar permission, the destination calendar, and the visit's departure time.
Permissions and available calendars vary with iOS and calendar settings. To stop linking visits, turn Calendar Link off in the app settings.